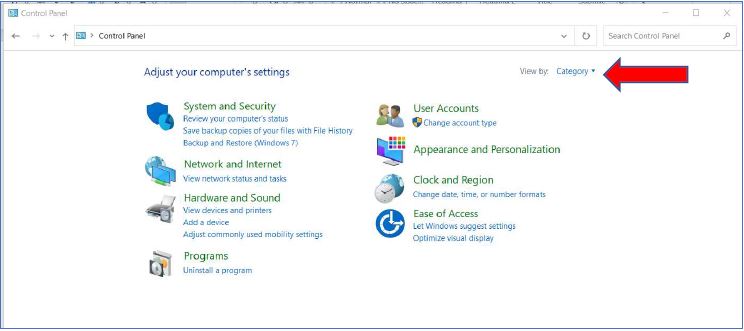
Open the computer’s Control Panel. On the upper-right, you will notice a drop-down menu
with the words “View by.” In the drop-down menu, select Small Icons—
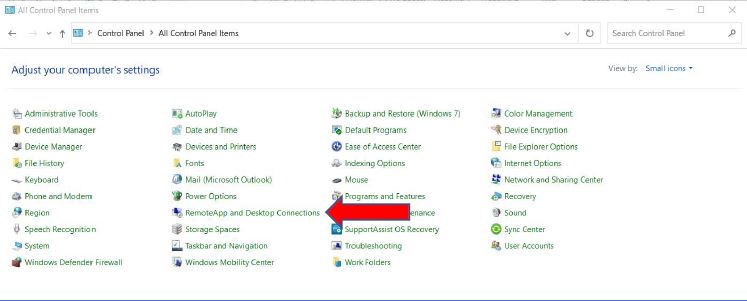
Choose the icon for RemoteApp and Desktop Connections.
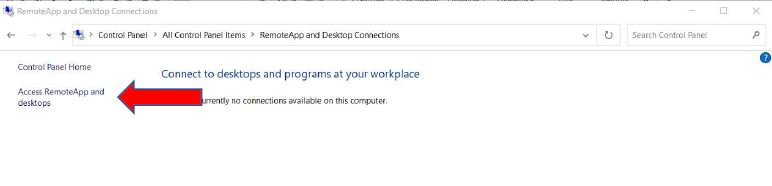
Click on Access RemoteApp and desktops—
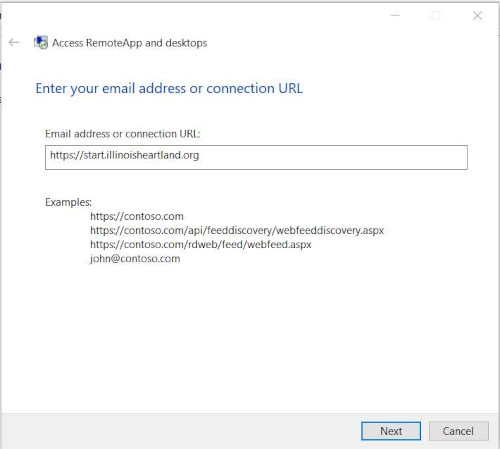
In the “Email address or connection URL:” field, enter https://start.illinoisheartland.org, then
select Next—
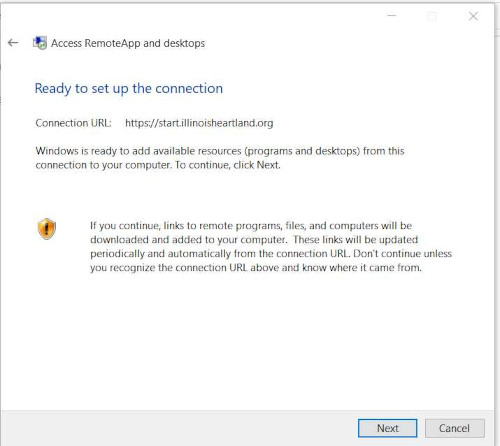
Select Next—
Enter one of your library’s workstation log-ons, not your personal Polaris username and
password. Be sure to click on the box for Remember Me. We suggest labeling each computer
with the workstation log-on that was used for each computer. When you notify us with
computer issues, we will be asking what workstation log-on is used on the specific computer
you are reporting issues for.
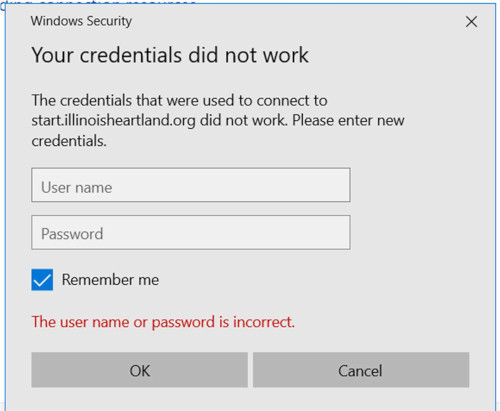
If you are unsure of your library workstation log-ons, please contact Dena Porter,
dporter@illinoisheartland.org.
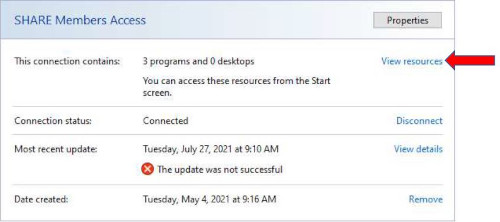
When you return to the Access RemoteApp and Desktop Connections area in the Control Panel
you will now see a box with SHARE Member Access. Click on View resources—
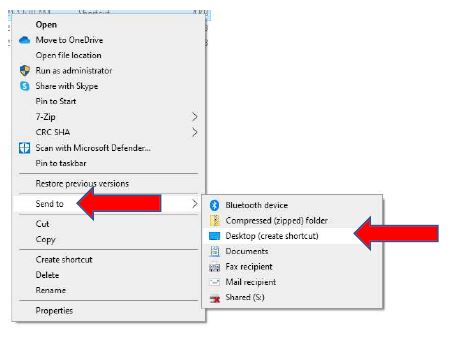
You should see Polaris ILS Live. You will now need to create a desktop icon; right-click on the
file, select “Send To,” then select “Desktop (create shortcut).”
![]()
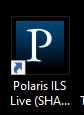
The icon will look like this—
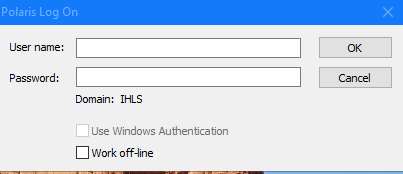
To log on to Polaris, double-click on the icon, and enter your personal Polaris username and
password as usual. Now when you log on you will only have to enter your Polaris username
and password one time.